Melink Employee-Owner Jason Brown offers tips for DIY home solar panel installation.
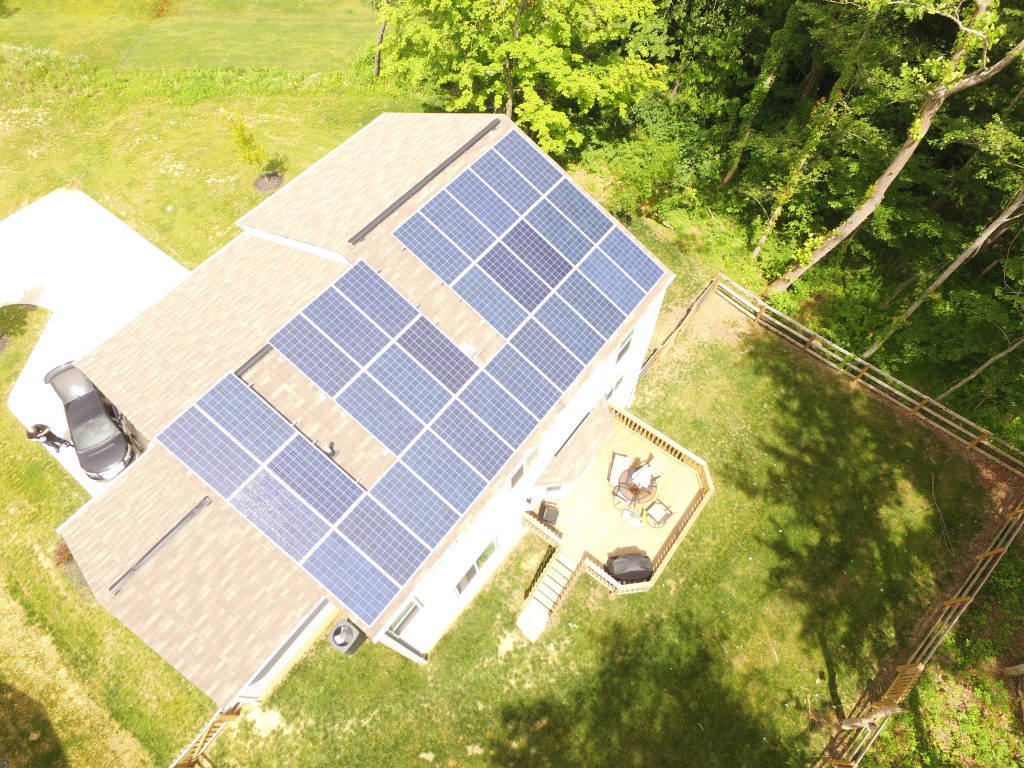
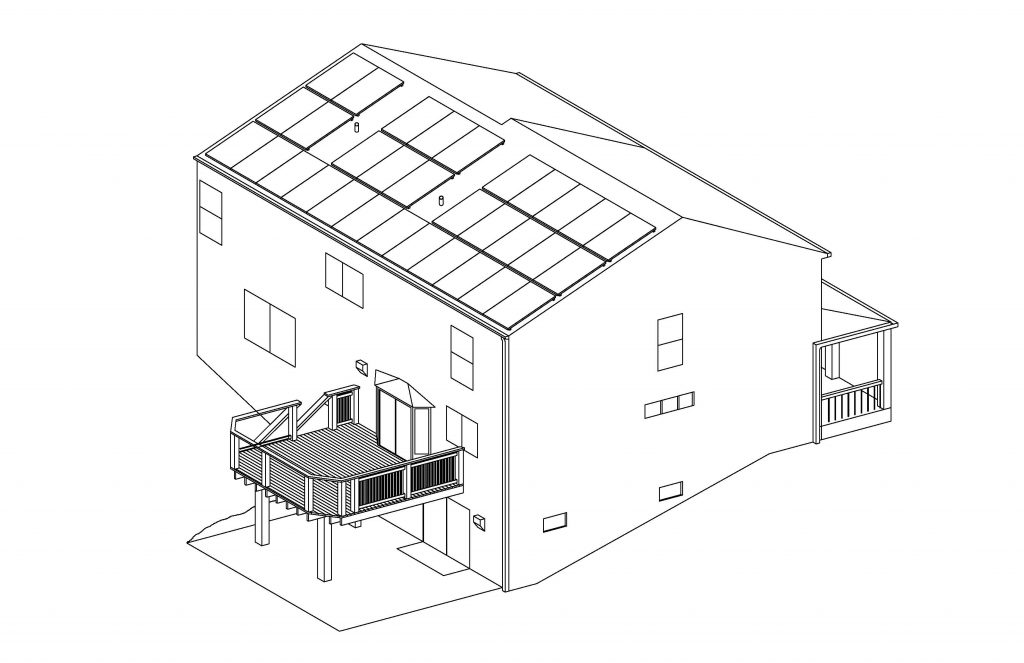
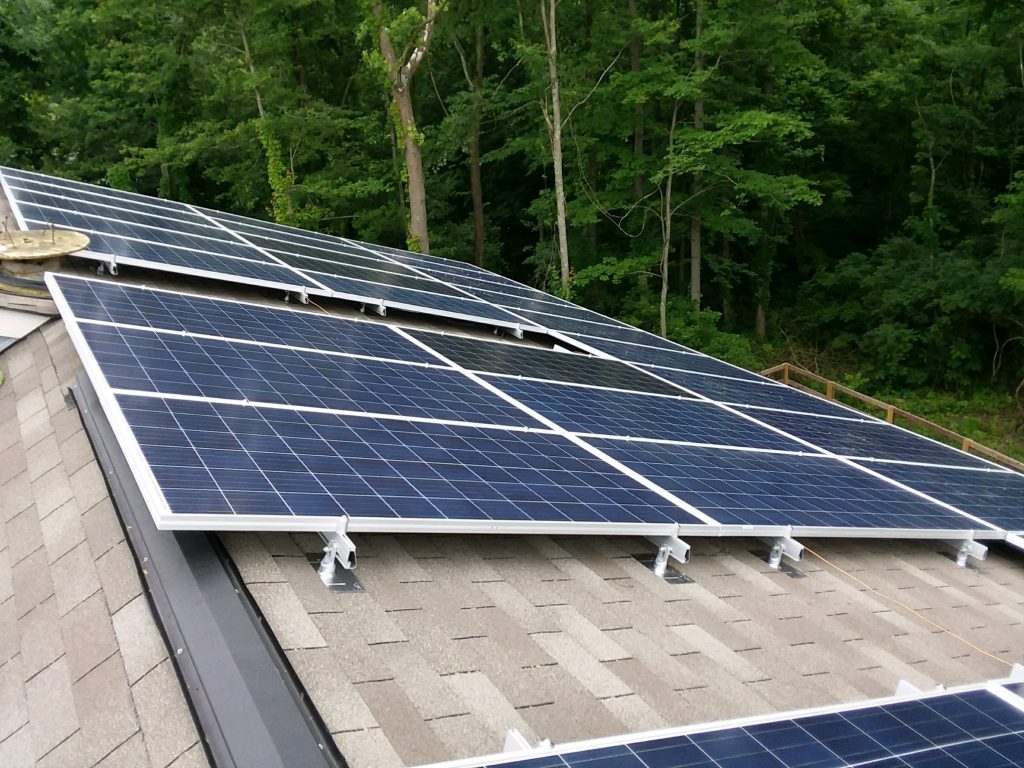
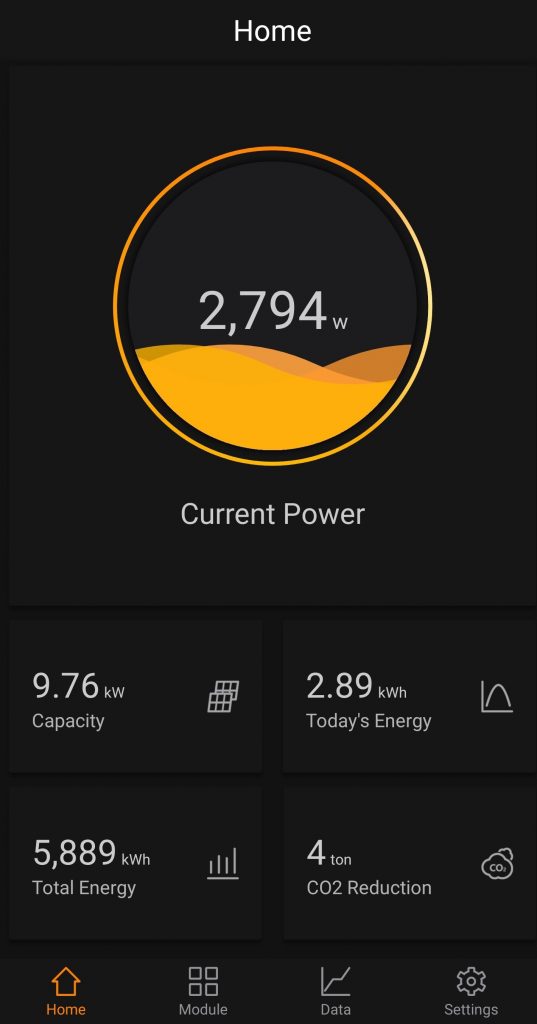
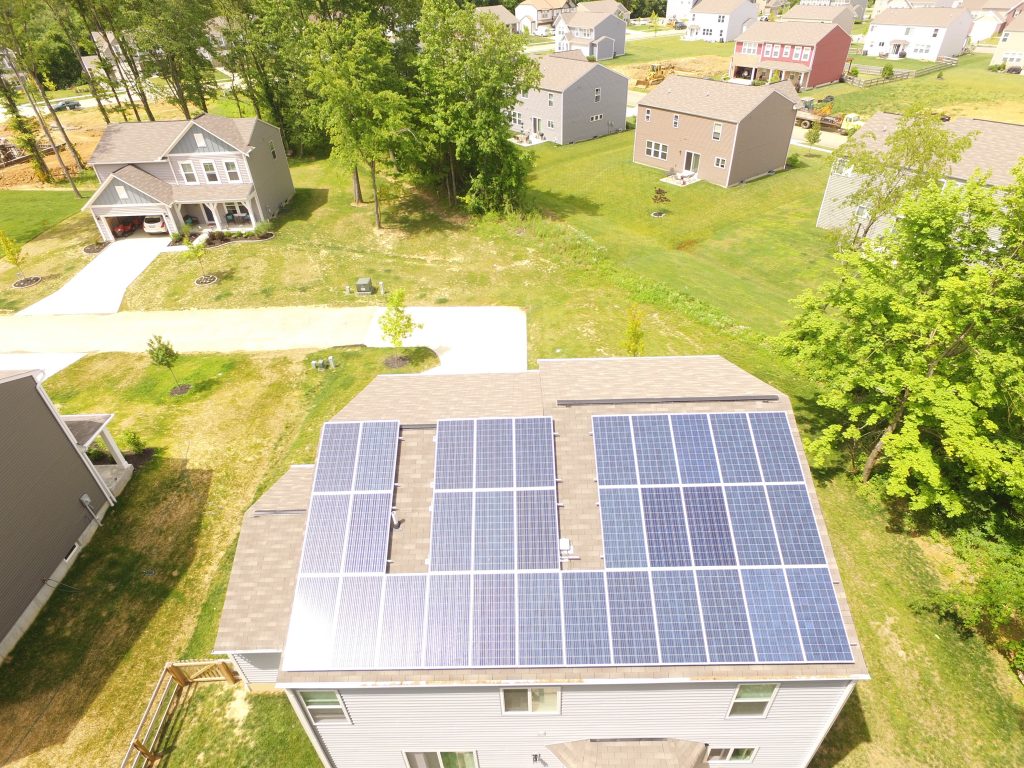
Jason Brown, Senior Applications Engineer for Melink Corporation, added a 9.76 kW solar system consisting of 32 panels to the roof of his new home in 2019.
“I went with adding solar because I know it works, and it’s worth the investment. I had installed solar on my previous home,” said Brown, who has served in various technical roles for Melink T&B, Solar & Geo, and Intelli-Hood®. “I recommend it to anyone that is looking to save money, help the environment by reducing fossil fuel emissions, and increase their home equity.”
Install
After a little homework and modeling, Brown came up with a system he could install for less than $1 per watt by doing the project himself.
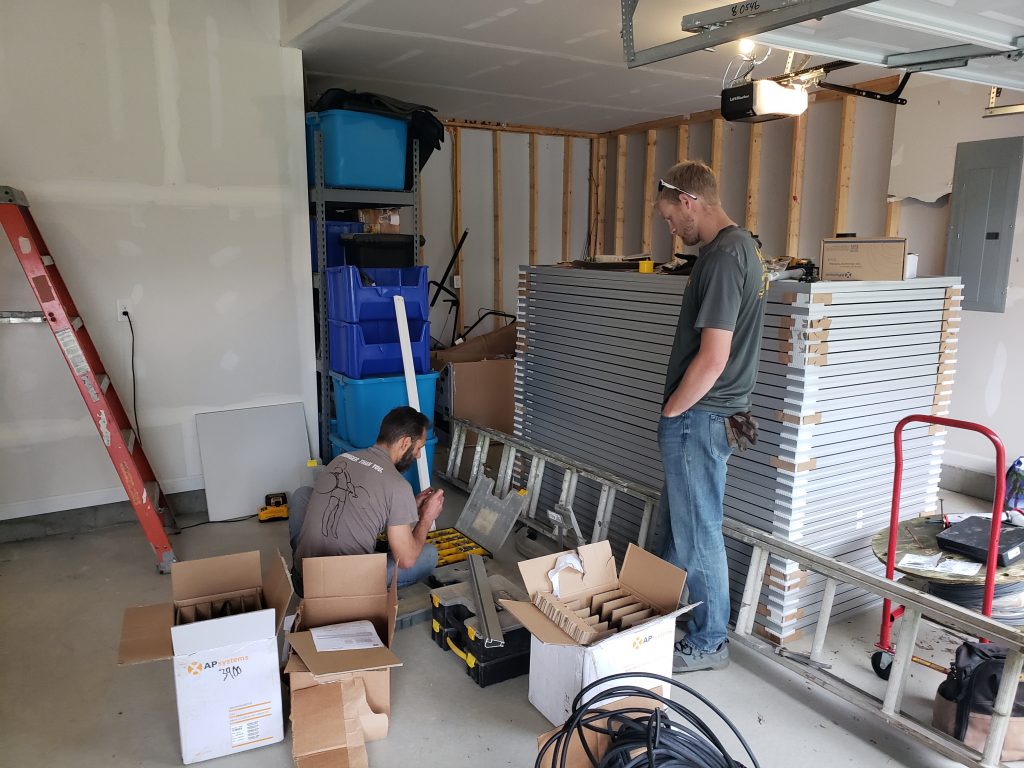
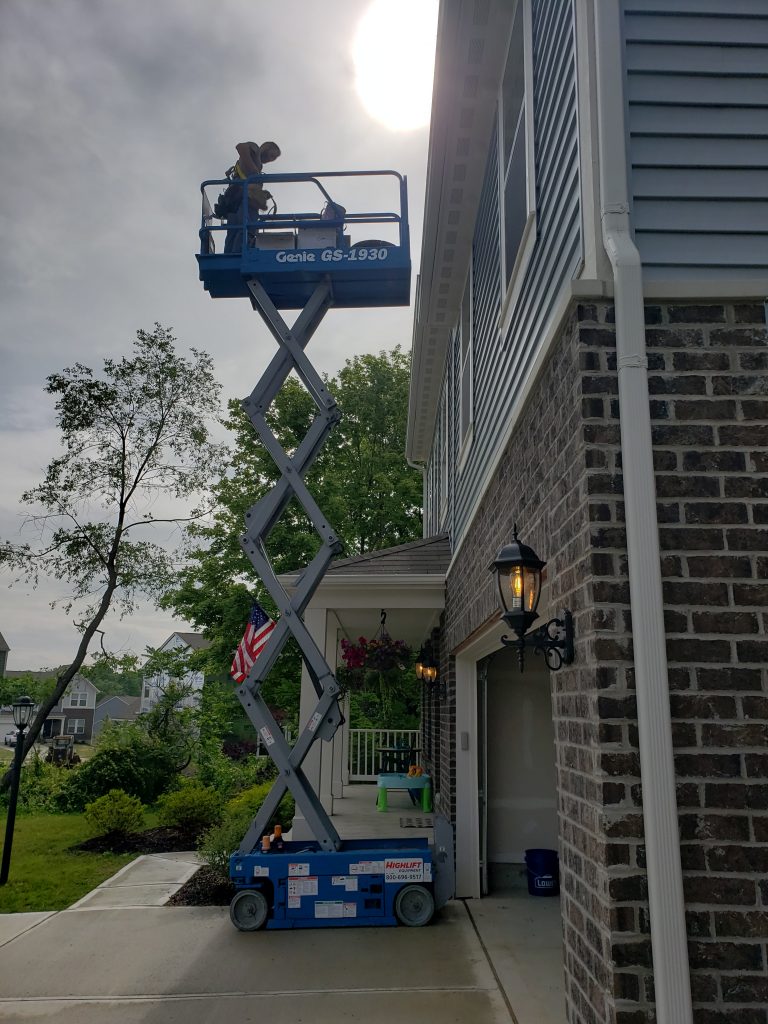
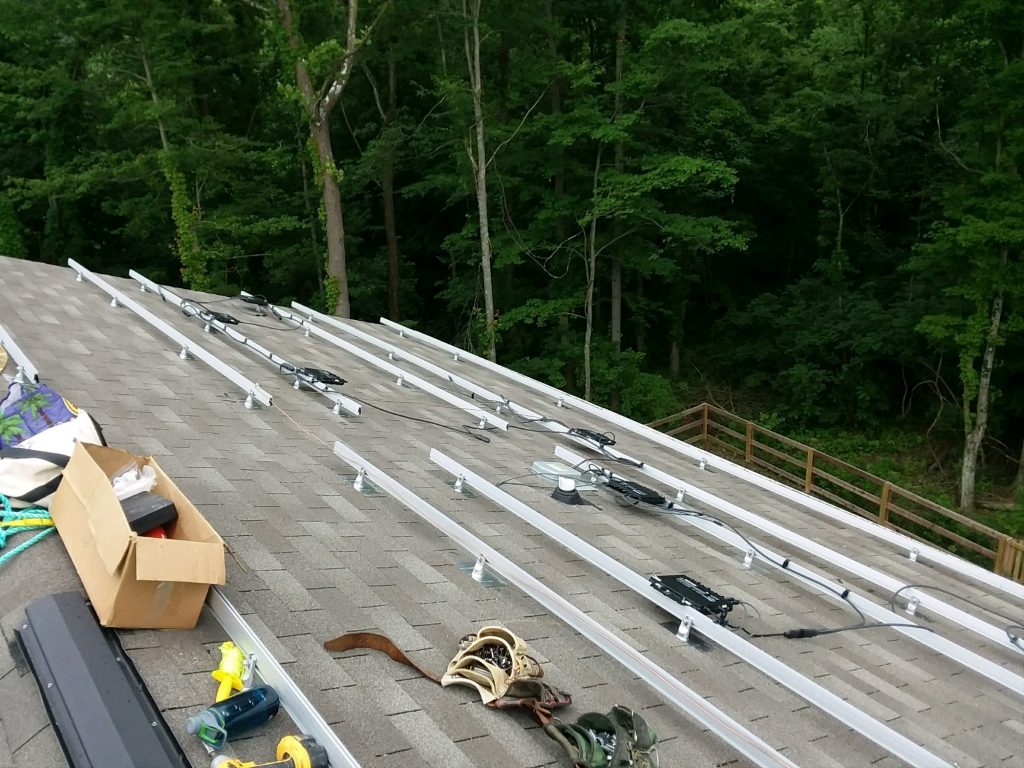
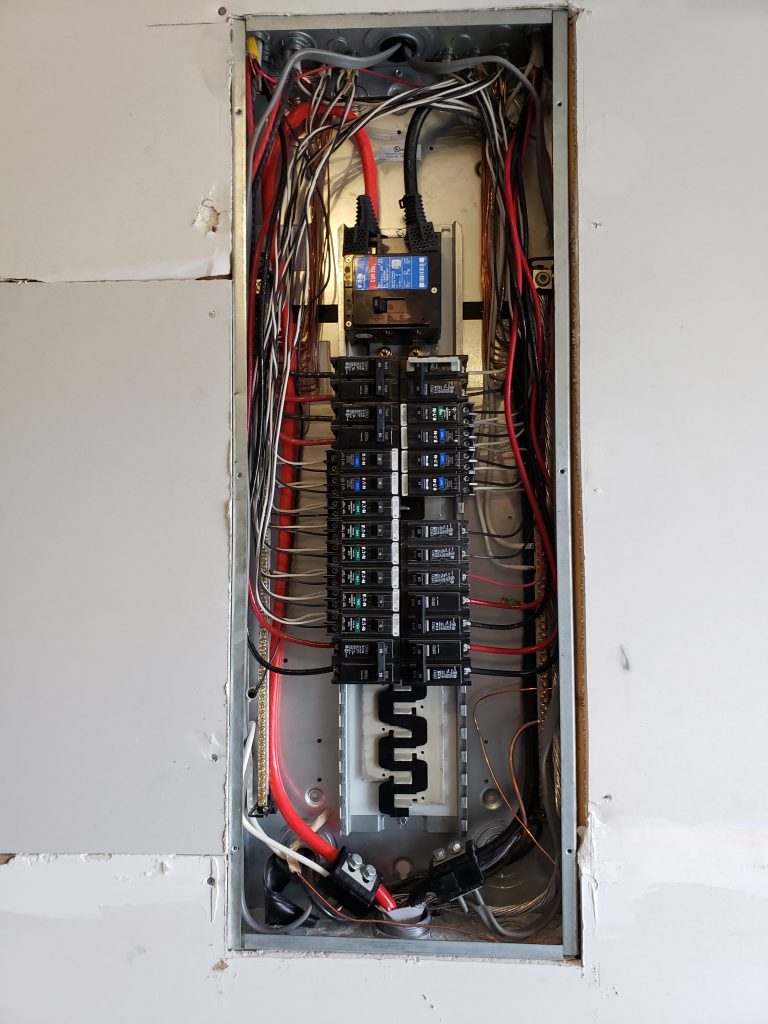
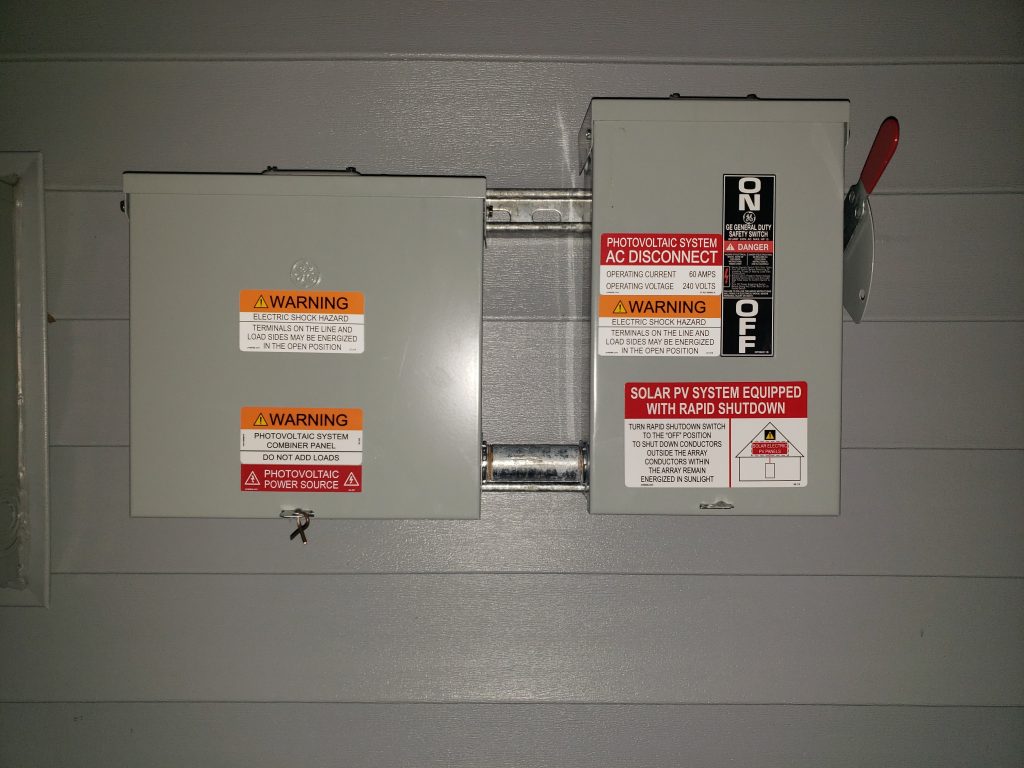
Next steps included filing the appropriate permits, purchasing materials, renting a lift to move the solar panels to his roof, and gathering his Melink Solar & Geo co-workers to assist him with the installation. Over a weekend, they completed the project: mounting the racks, wiring the system, and installing the panels themselves.
System Maintenance
As for maintenance, the system requires little upkeep or cleaning. The panels are installed at a 5/12 pitch angle, which allows them to be cleaned naturally by the region’s rain cycles.
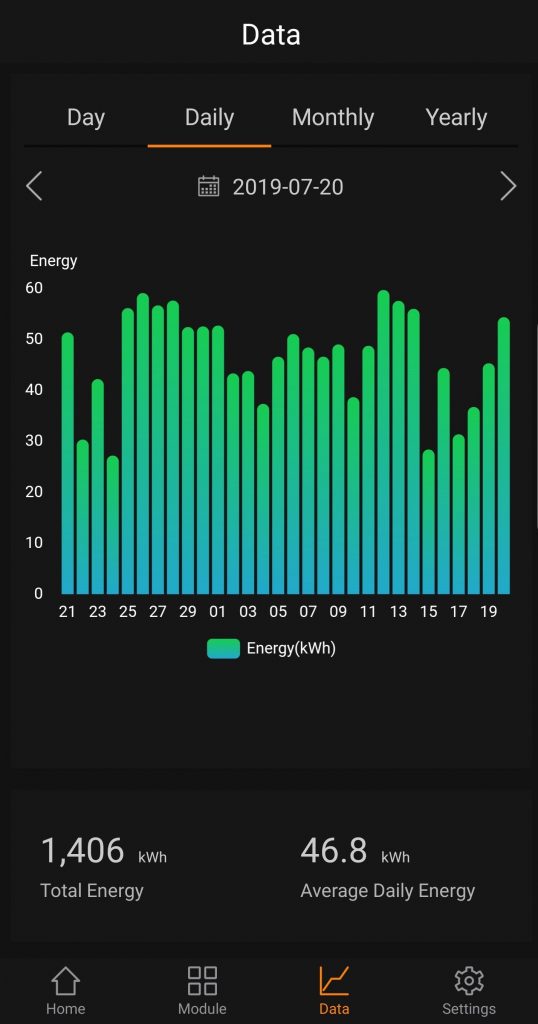
Additionally, the system’s micro-inverters have a free, built-in monitoring system that can be observed through a phone app. The app shows system production (instantaneous or over time calculations) and efficiency between each panel. With this tracking, Brown will know if there is a problem within the system that needs attention.
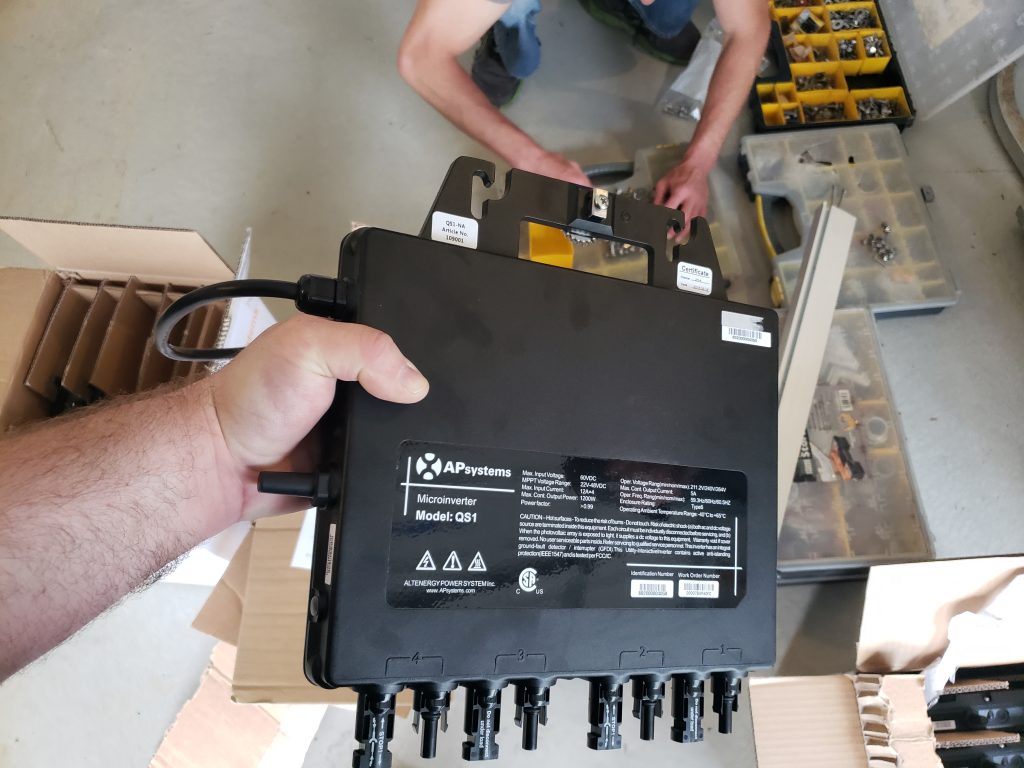
Forecasted maintenance depends on the type of inverter installed. Traditional string inverters may need to be replaced in 12-15 years, while many micro-inverters have a 25-year warranty/life expectancy.
“Sometimes these component parts can last the life of the panels, sometimes a little less,” Brown said. “I went with micro-inverters for their longer projected life-rating and to offer better performance with any shading.”
Lastly, Brown said some indirect tree trimming may come up in the next 25-30 years to allow more sunlight to reach the panels.
System Performance
The best part? Brown’s home system is currently trending to the projected energy savings and on pace to be under a 5-year ROI with using the 2019 tax credit. The solar array is on track to provide 70% of his home energy usage annually, resulting in a savings of $75-165 per month depending on the time of year and the current electric rates.
As rates from energy suppliers increase so does the system’s calculated savings. Additionally, by doing the project himself, the system has increased the value of his home with nearly a 3-to-1 return.
Home Solar Panel Installation Tips
If you’re considering your own home solar project, here are Brown’s tips:
- To understand your home’s energy profile, check your electric bills to find out what the average kWh usage is over 12 months. This will give you a glimpse of your home’s energy usage and an idea of what to plan for.
- Research residential solar tax credits through the Database of State Incentives for Renewables & Efficiency® or ask a tax professional. For the tax year 2020, the federal tax credit is 26% and will drop to 22% for tax year 2021.
- Determine if you would be installing a ground-mount or roof-mount system. The solar modules need to be mounted facing south with not too much obstruction (trees, shading of the sun, etc.). Most residential installations are roof-mounted due to the size of the property and to elevate the modules, offering a better chance of extending the sunlight hours.
- If you choose to do a roof-mount installation, determine the age of the roof on your home. Keep in mind that the solar system you’re planning will be there 25-30 years. Ideally, solar should be added at the time of new construction or roof replacement.
- Before purchasing materials, assemble a Bill of Materials (BOM) of what you need to purchase. This will give you a full understanding of the project costs.
- Call your local zoning and permit offices before you start. You need to review the guidelines to make sure you are within your right to install this electrical upgrade and that you’re abiding by all local codes and permitting requirements. Your township/county will likely require you to file an electrical permit, and they may need to perform a structural review.
- If you live in a neighborhood, you also need to contact your home owners association (HOA). Your HOA may require you to provide documentation and pay an application fee.
- Once you have done your research and filed for the appropriate permits, file an interconnection agreement with your utility provider so you can connect to the grid.
This information is for educational purposes. Melink shall not be responsible nor retain liability for use of the provided information. Prior to beginning any electrical or solar project, you are advised to consult with an industry professional.
Melink envisions clean energy transforming the world by improving our global economy, security and environment — for ourselves, our children and future generations. “Walking the Talk” stories showcase Melink employee-owners that are making sustainable choices in their personal lives.
